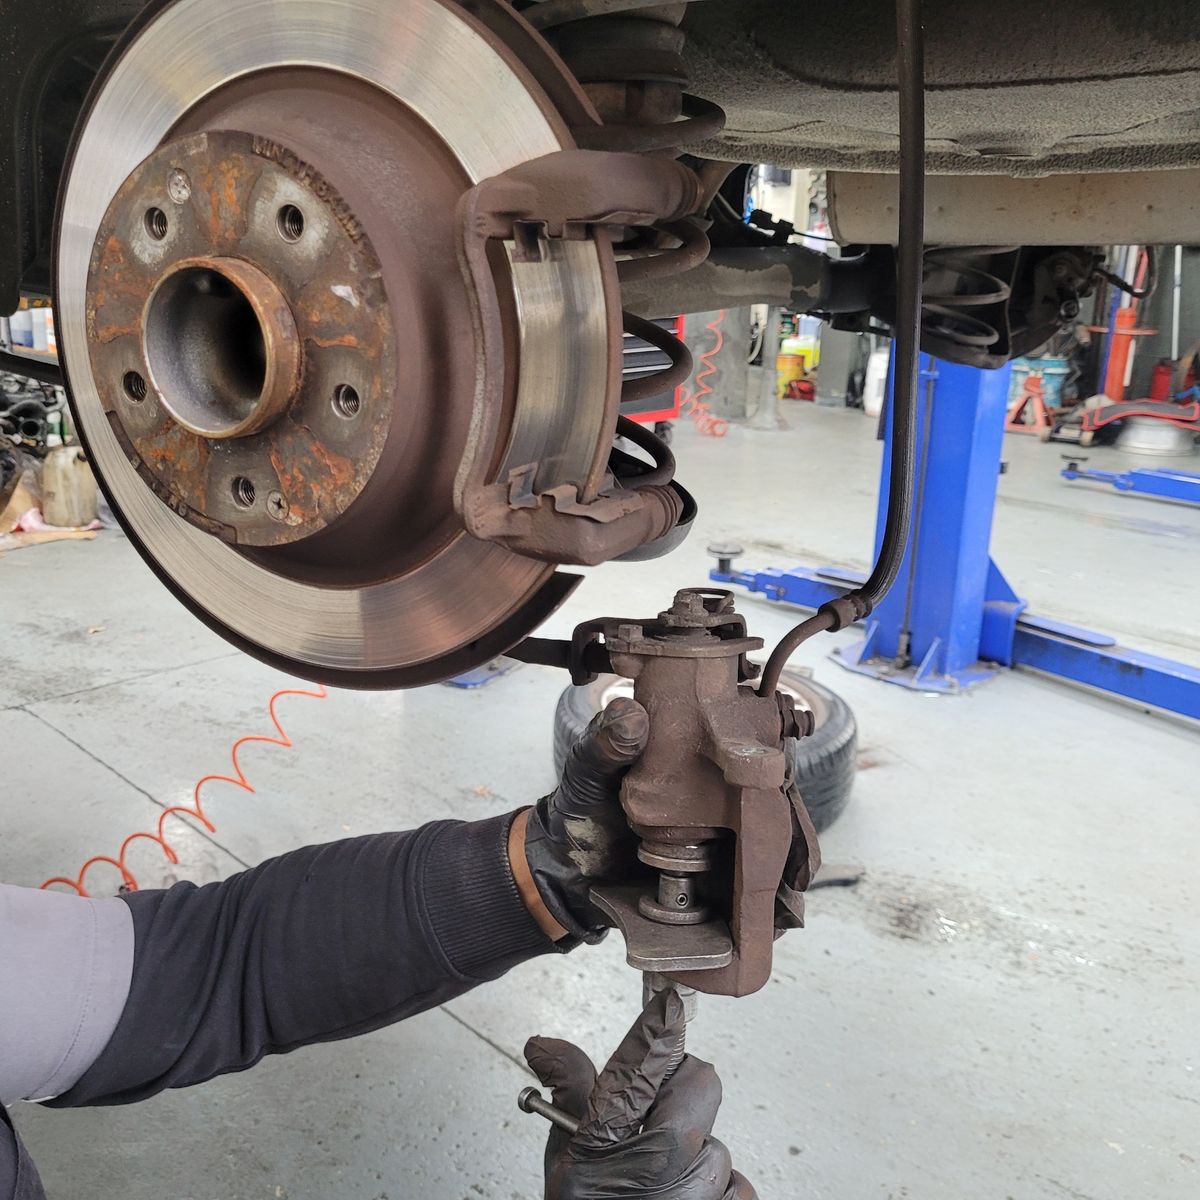
1. Keep an Eye on Your Brake Pads – Especially If You Drive Around Hamilton a Lot
Alright, so here in the Tron, with all the stop-start traffic down Ulster Street, or when you’re going over the speed bumps in Rototuna or those cheeky potholes you get on the road out to Tamahere – your brakes really cop a hiding. We see it in the workshop all the time, whether it’s a Honda Jazz from Morrinsville or a late-model Peugeot 308 that’s buzzing around Te Awamutu.
Regularly check your brake pads for wear. If they’re starting to look really thin (less than 3mm left is usually pushing your luck) or you spot deep grooves, your brake pad sensors could be next to pack it in. Quick visual check: wheel off, torch out – job’s done in a minute or two.
Keeping on top of this can save you a heap of hassle down the track. Wanna know more about how brake pads wear out? Suss out our handy guide here.
2. Make Sure the Brake Pad Sensor Suits Your Car
We get all sorts rolling in – you might have a Kia Carnival hauling the kids in Cambridge, or maybe a slightly more exotic Skoda Octavia from Raglan. Not every brake pad sensor is the same, and it’s tempting to just grab whatever’s at the shop, but trust me, matching your sensor to your ride is key.
Best bet? Double-check your owner’s manual. If you’re still not sure, one of our techs can point you in the right direction, no stress. Using the right sensors helps your car actually tell you when the pads are poked, instead of just throwing a random warning.
Need help figuring out what fits your wheels? Our brake service page has all the info.
3. Always Follow the Manufacturer’s Advice
Look, even if you fancy yourself as a DIY legend, stick to the instructions from the car’s maker. Doesn’t matter if it’s a Toyota Alphard or a Mercedes A-Class, those guidelines are there for a reason. We’ve seen a few people try shortcuts and end up making things worse – or turning up at the shop with their dash lit up like a Christmas tree!
Read the manual before you start. Use the right tools. You’ll save yourself a lot of grief, and your brakes will thank you for it. If you’re curious about the perks of using proper parts, check this out.
4. Test Everything Afterwards (Don’t Just Guess It’s Sweet)
Once you’ve swapped out the sensor, it’s not just a matter of packing up and hoping for the best. Reconnect your battery, fire up the car, and take a look on the dash for any warning lights. We usually recommend a quick drive down Wairere Drive or around Chartwell just to make sure everything’s behaving as it should.
If you really want to be sure, grab a multimeter and check the electronics — or just ask us to do it on your next car service in Hamilton, too easy. There’s a good how-to here.
5. Got Doubts? Leave It to the Pros
Not everyone wants to get their hands dirty – and honestly, if you’re not sure about brake pad sensors, it’s better to get it checked by someone who looks at these all day long. Whether you’ve got a Subaru Outback from Ngaruawahia, a Suzuki Swift, or even something a bit funky like an Alfa Romeo, our techs have seen it all.
Why get us to sort it?
-
We know our stuff – brakes are something you want right, especially with all the wet weather in Hamilton’s winters
-
We use proper (OEM) parts – no dodgy knock-offs
-
It’s safer – peace of mind for your next WOF or that trip to Matamata
If you’re in Hamilton or nearby, suss Grimmer Motors for your brake checks, sensor replacements, or anything else under the bonnet. We’re here to help keep you safe and your car humming.

